Your First Real Workflow
Follow the current customer-to-settlement workflow after required setup and readiness are complete.
Use real shop records for the first workflow. ShopCommander does not create tutorial customers, vehicles, repair orders, invoices, payments, inventory receipts, or timer entries.
1. Confirm readiness and access
Open Getting Started and review the readiness ledger. Required blockers must be resolved by an authorized person. Optional messaging, Voice, card processing, or external-data workflows may still show Needs setup; use a supported manual path until they are Ready.
2. Create or find the customer and vehicle
Open Customers, search before creating, then use New Customer only when no correct identity exists. Open the customer and add the real vehicle. VIN/plate/odometer scanning can assist on supported mobile devices, but a person confirms captured values before use.
3. Book or receive the visit
Use Appointments to create the visit, or proceed as a walk-in according to shop policy. At arrival, use the appointment/check-in handoff and confirm customer, vehicle, concern, contact preference, and current odometer as applicable.
4. Create the repair order and add work
Open Repair Orders → New Repair Order, choose the correct customer and vehicle, record the concern in the customer’s words, then add actual service lines or governed canned jobs. Assign eligible work to a Technician or Apprentice from the current repair-order controls.
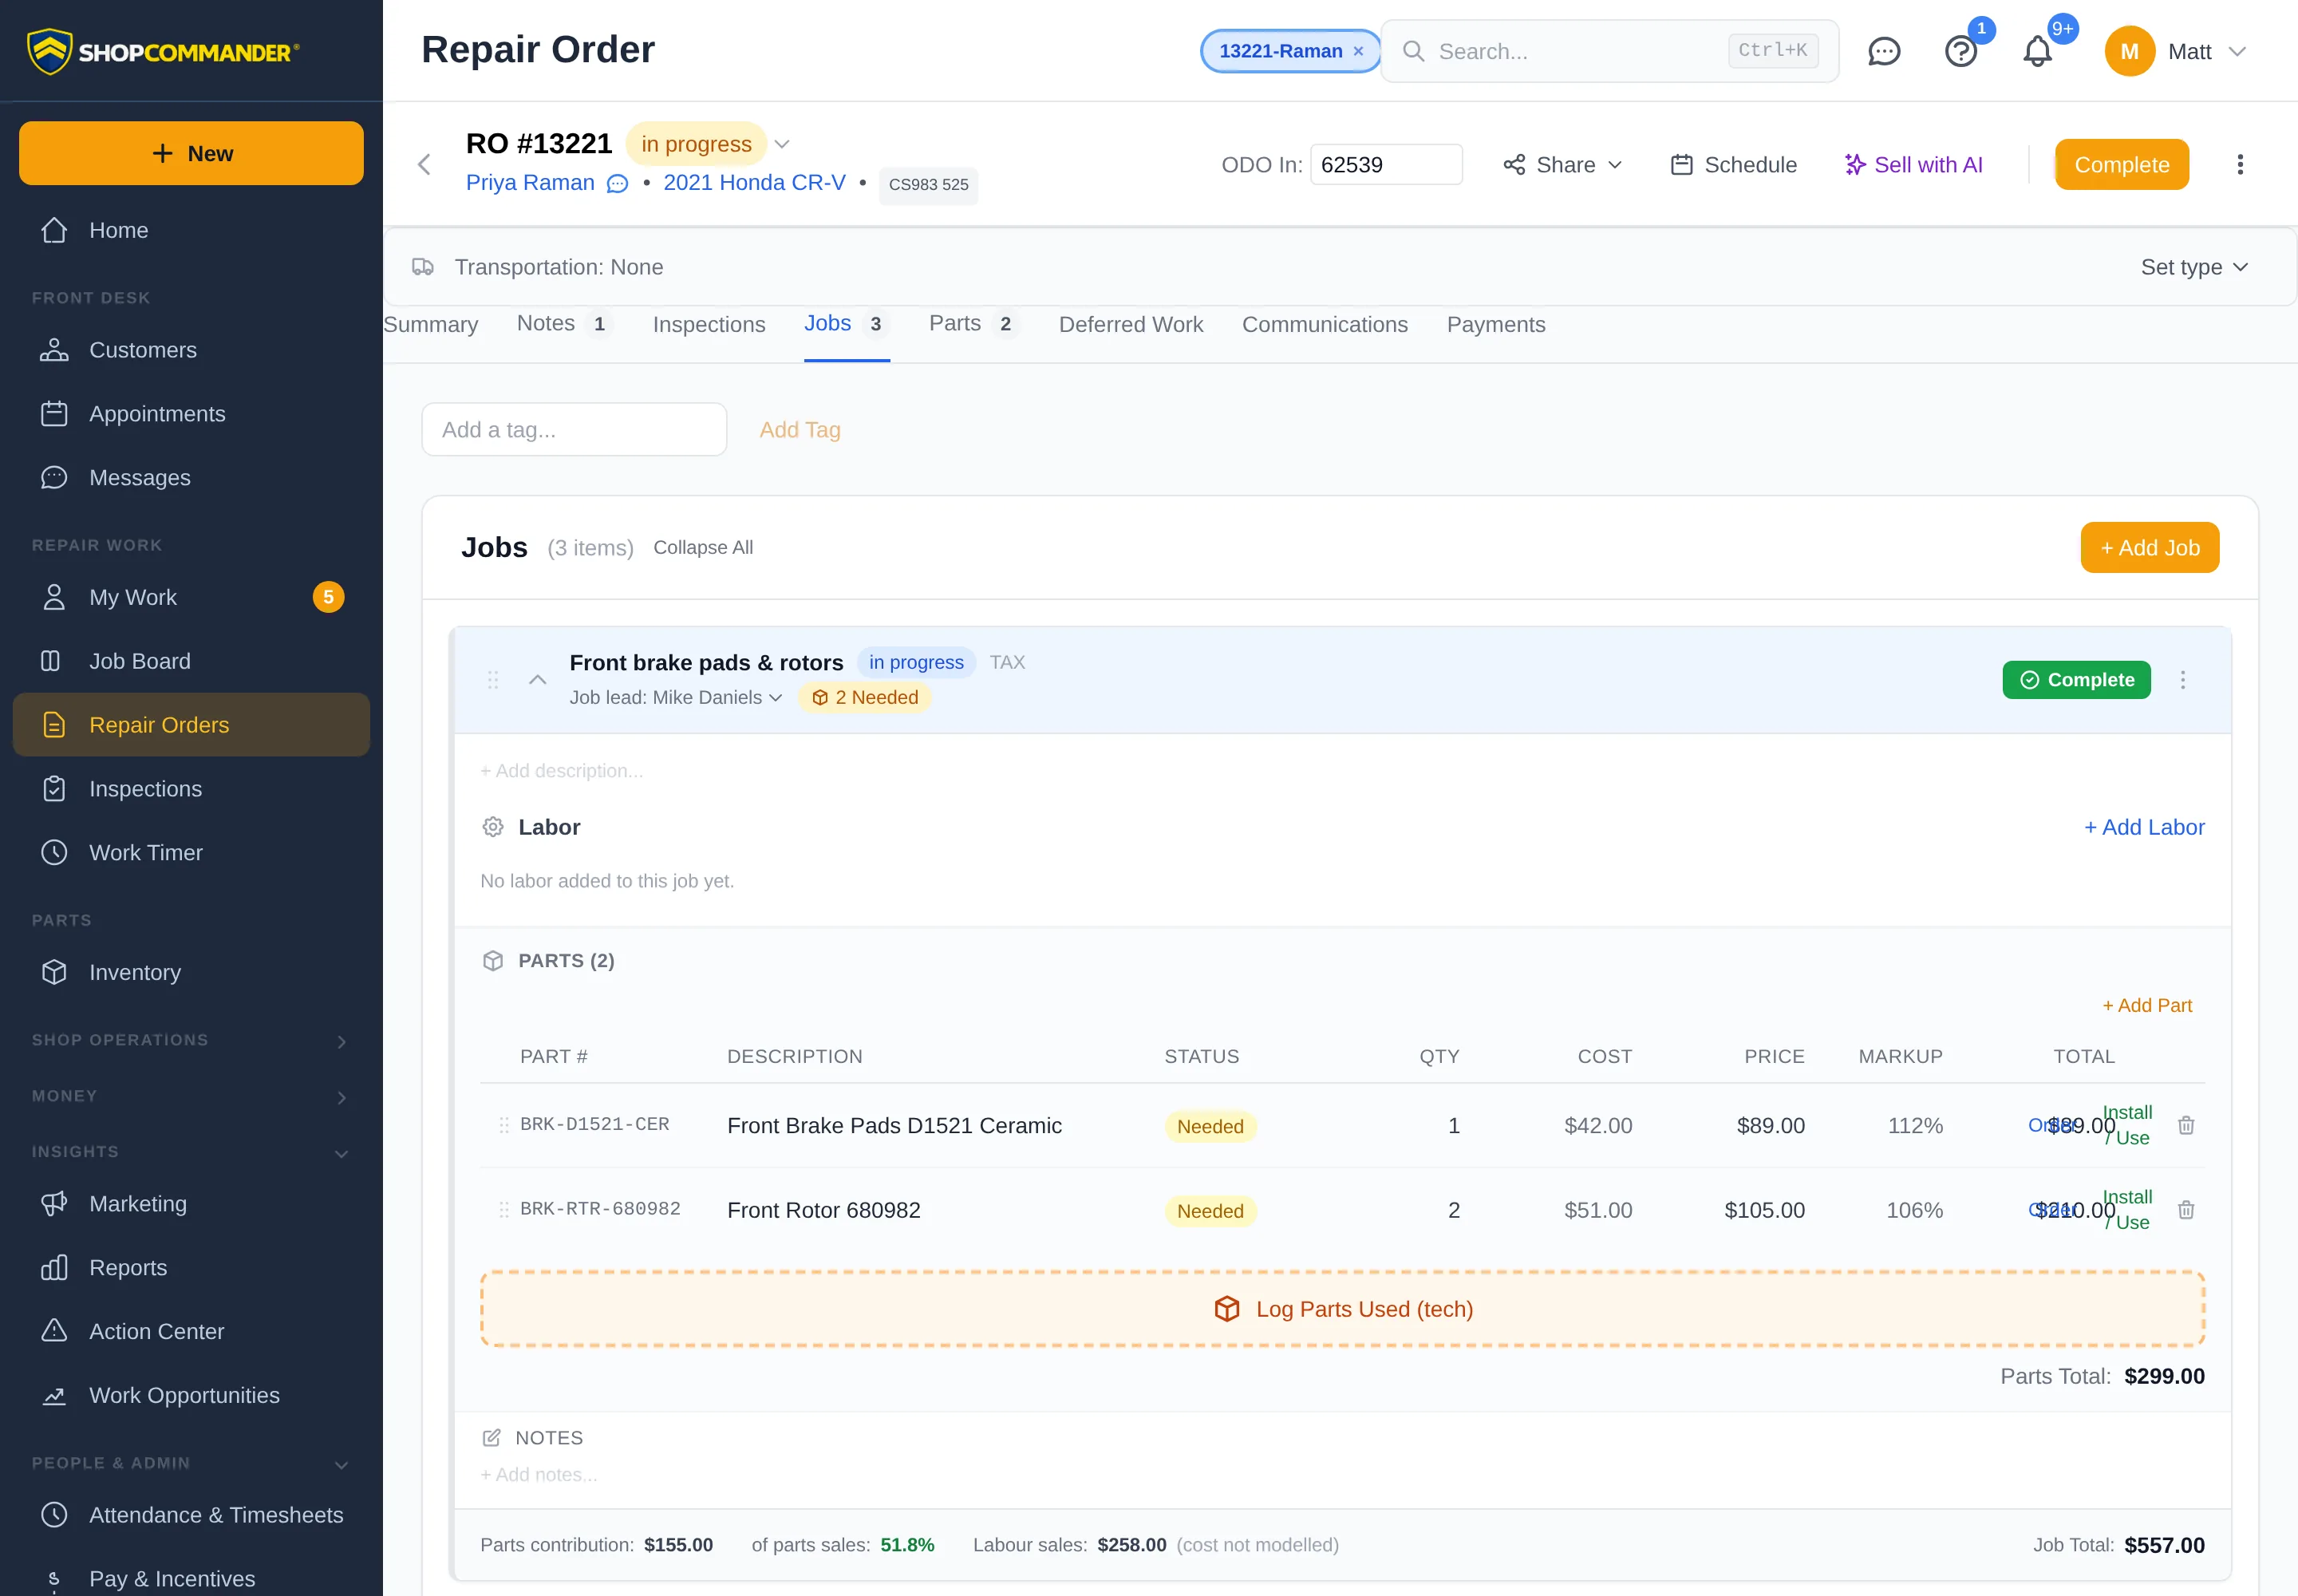
5. Estimate and record authorization
Review the current commercial revision. Send it through a configured consented channel or use a supported staff path. Customer decisions apply to that exact revision. A material change can supersede prior authorization and require a fresh decision.
6. Perform the work and DVI
The assignee opens My Work, follows Ready/Waiting state, starts or switches Work Timer when enabled, performs the real DVI and required evidence, and hands parts/material notes to the Advisor for disposition. Apprentices use Ready for review when supervisor handoff is required.
7. Post the invoice, then settle it
When execution prerequisites are satisfied, use the repair-order primary action to post the invoice. Posting creates the immutable commercial document; it does not record payment. Record actual manual tender or use a configured payment provider, then verify the settlement ledger and balance.
8. Review the outcome
Home and Reports summarize the result only after the source work exists. Use source drilldowns when a number or exception needs explanation. Unknown cost remains unknown; Known Contribution is not a promise of complete profit.